
Seamless Data Integration with Snowflake, Alteryx, and Power BI
Unlocking Powerful Analytics with Snowflake Integration
A Step-by-Step Tutorial for Snowflake Connections
Why Integrate Snowflake with Alteryx and Power BI?
Setting Up Connections: Snowflake to Alteryx
Integrating Snowflake with Power BI for Data Visualization
Best Practices for Snowflake Integration Workflows
Configuring Snowflake as a Data Source in Alteryx
Setting Up Snowflake in Power BI for Seamless Reporting
Enhancing Data Preparation and Analytics with Snowflake
Troubleshooting Connection Issues in Snowflake Integration
In the last few years, with the rise of data, Snowflake has emerged as a leading cloud data warehouse platform, offering significant advantages over traditional solutions. Its seamless integration with tools like Alteryx and Power BI creates a powerful ecosystem that enables organizations to streamline their data processes, enhance analytics capabilities, and drive better business outcomes. The combination delivers substantial value through real-time data accessibility, automated workflows, and advanced visualization capabilities, while Snowflake’s cloud-based architecture ensures scalability and cost-effectiveness.
This integration empowers organizations to transform their raw data into actionable insights efficiently, ultimately supporting faster and more informed decision-making across the enterprise. In this blog, we will walk you through the steps required to connect Snowflake with Alteryx and Power BI, building an end-to-end workflow from data extraction to visualization. So, follow along!
Part 1: Extracting Snowflake Data using Alteryx
Step 1
Install Alteryx and Snowflake ODBC Driver
- Ensure you have Alteryx Designer and Snowflake ODBC Driver installed on your machine.
- Use the below link to download Snowflake ODBC Driver
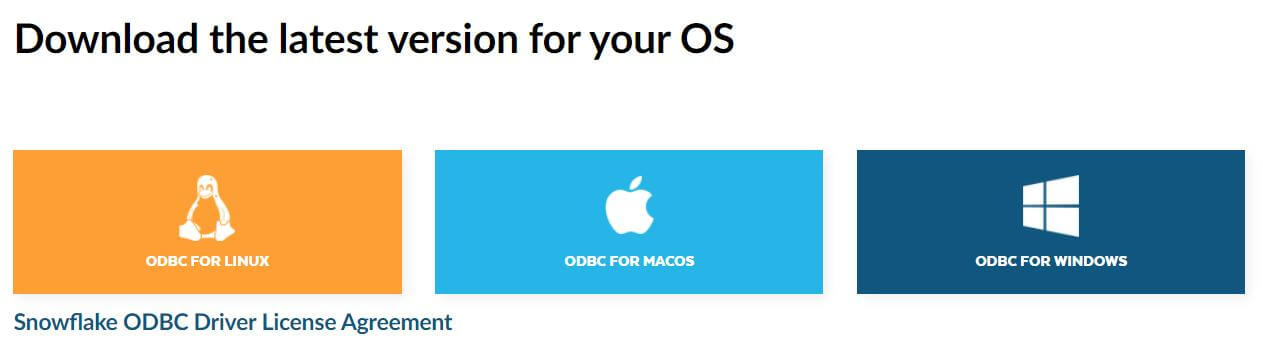
https://developers.snowflake.com/odbc
https://help.alteryx.com/current/en/designer/data-sources/snowflake.html#snowflake
Step 2
Configure the Input Data Tool
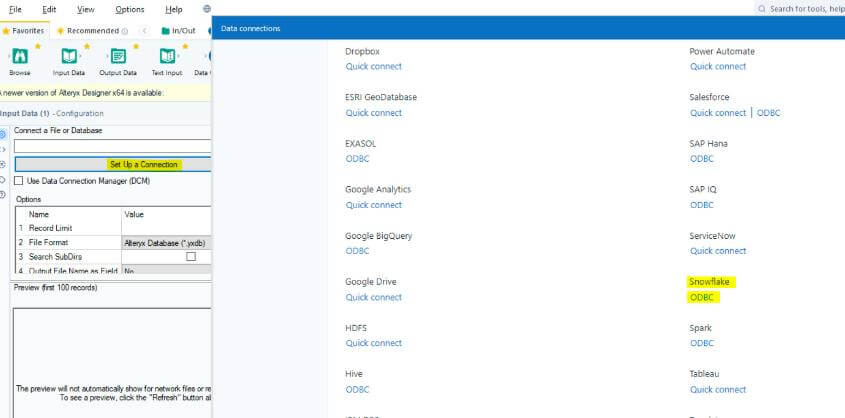
- Open a new workflow in Alteryx Designer and drag & drop the “Input Data” tool from the toolbar onto the workflow canvas.
- Click on the “Connect a file or Database” drop-down and select “Data Sources”.
- Choose “Snowflake” from the list of available databases.
Step 3
Enter Snowflake Connection Details
Provide the necessary connection details:
- Click on the “ODBC Admin” under the Snowflake Connection tab.

- Select “System DSN” and then click “Add” and then select “SnowflakeDSIIDriver” then click on Finish.
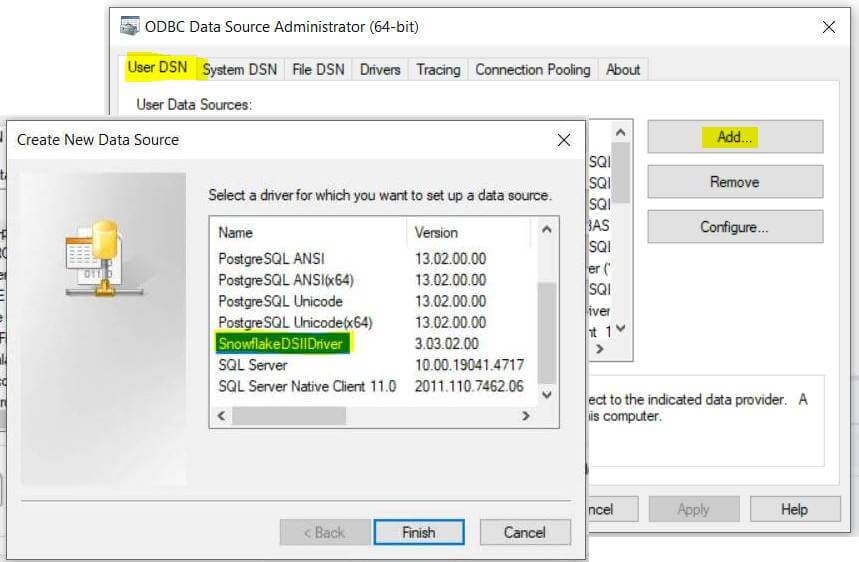
- A new window will pop up for connection settings Enter the following details.
- Data Source Name: A descriptive name for the connection.
- Server: Enter the Server Name.
- Warehouse: Enter the Warehouse Name
- Role: Enter the Role Name
- Tracing (0-6): 4
- Username and Password: Snowflake login credentials. Empty password in case if your Snowflake supports Azure Login with AD.
- NoProxy: Provide URL if required.
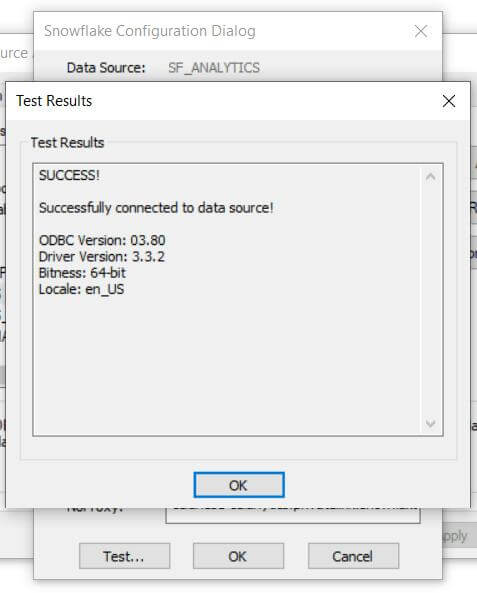
- Click “Test Connection” to ensure the details are accurate. If successful, click “OK” to close the window.
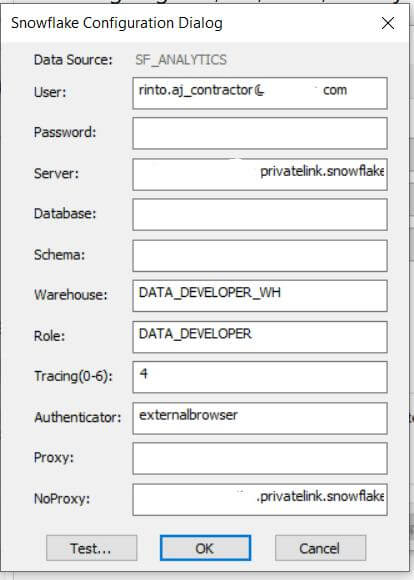
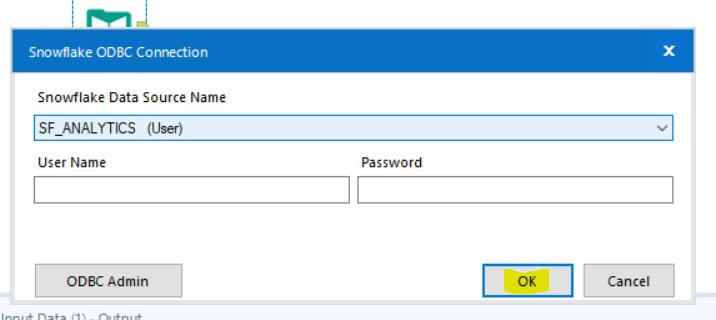
- Select the New Data Source “SF_Analytics” and click OK.

Step 4
Select the Desired Table
- Enter your credentials. Leave as empty if you are using Active Directory Azure Login. Or provide the Snowflake credentials.
- In the Input Data tool configuration window, choose the table or write SQL Query for the table you want to work with.
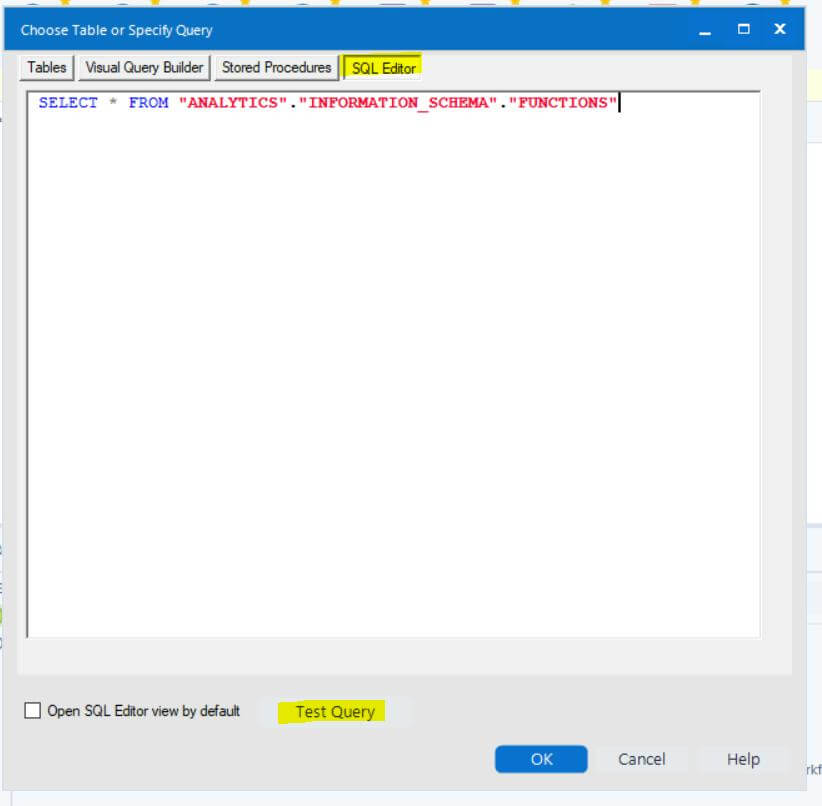
- Click on Test Query then click OK.
- Below is the sample workflow.
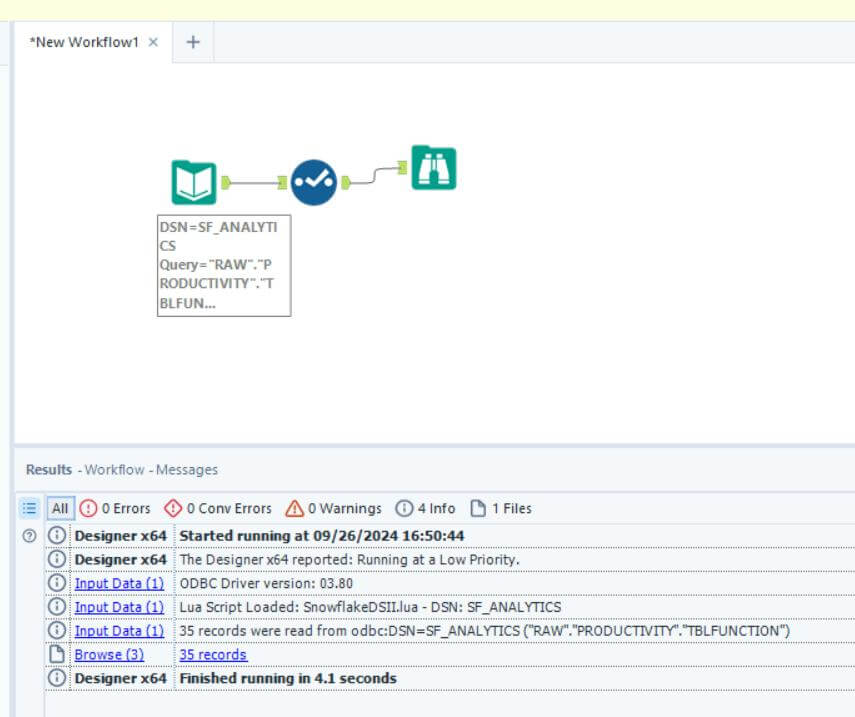
Note: To use the same workflow on server, you will have to configure the same ODBC connection on Alteryx Server with Same Data Source name and service account credentials. Otherwise, it will throw error while publishing and executing on server.
Part 2: Loading Data to Snowflake using Alteryx
Please follow the above steps to configure the ODBC DSN Connection before proceeding with below steps:
Step 1
Configure the Output Data Tool
- Drag & drop the “Output Data” tool from the toolbar onto the workflow canvas.
- Click on the “Setup Connection” drop-down and select “Data Sources”.
- Choose “Snowflake” from the list of available databases. You will find two options like ODBC and Bulk. Here we are using Bulk as its very fast and reliable compared to “ODBC” Connection.

Step 2
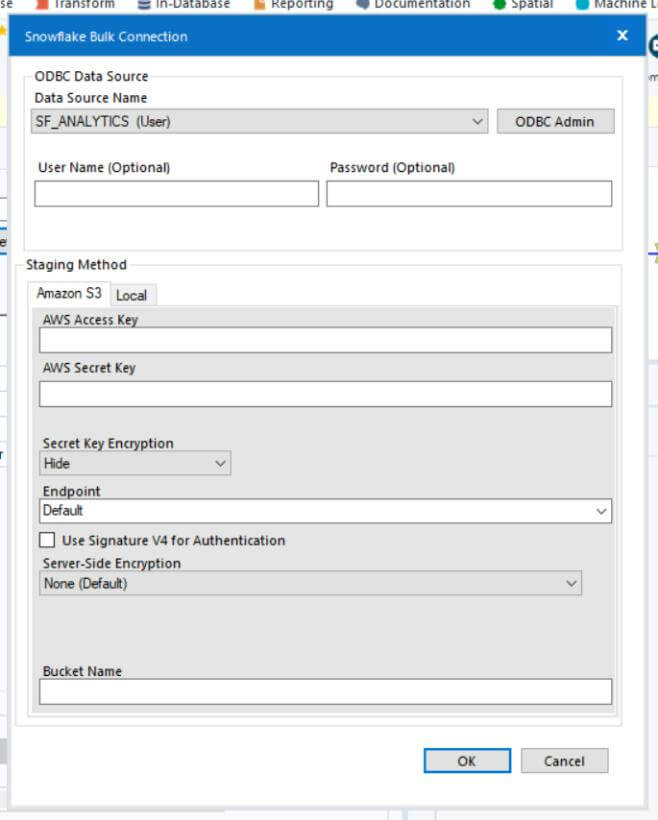
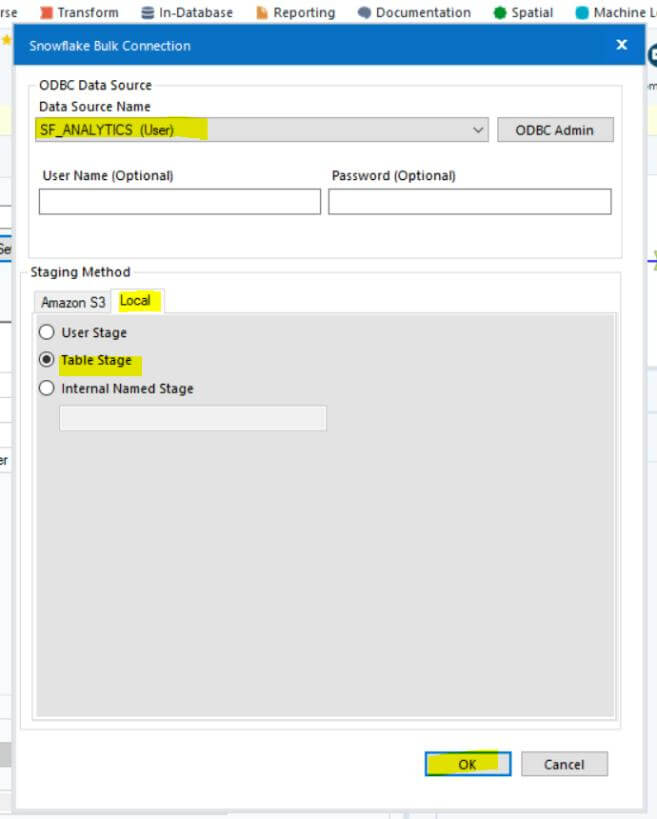
Enter Snowflake Connection Details
- Provide the necessary connection details:
- Choose the Data source name which you have configured in the Part 1.
- Provide username and password if required.
- Choose the staging method, if you don’t have amazon stage, choose Local and Table Stage as default. Click OK to continue.
Step 3
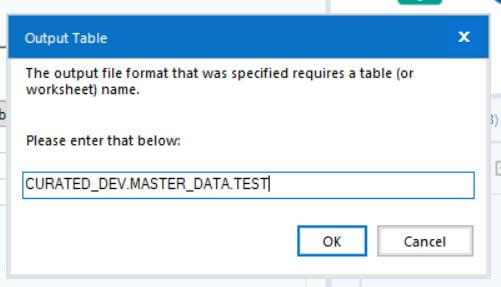
Select the Desired Table
- Provide the output table information on the next pop-up window. click OK.
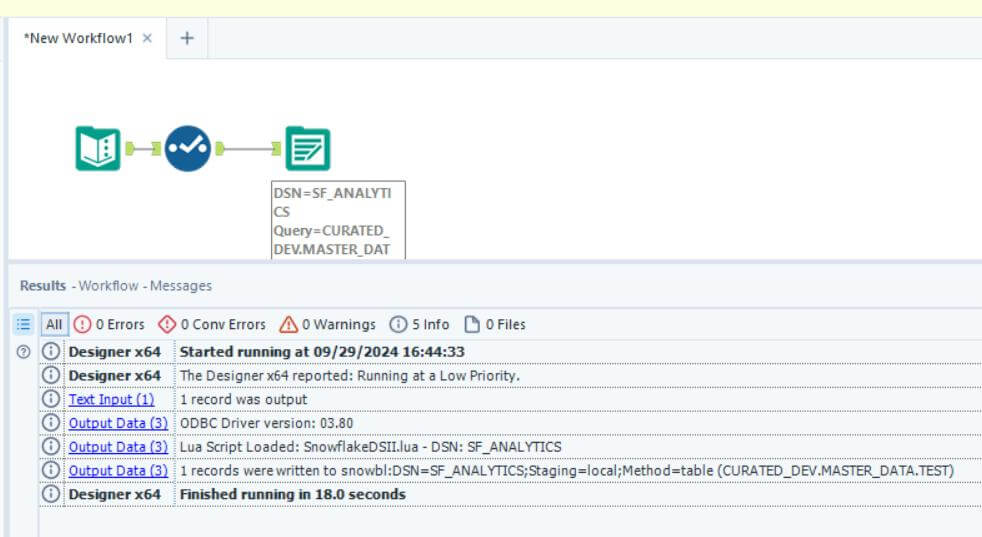
- Under the configuration pane, choose the desired output option based on your requirements.

- Below is the sample workflow.
Part 3: Connect to Snowflake from Power BI
Step 1
Get Data from Power BI
- Open Power BI Desktop
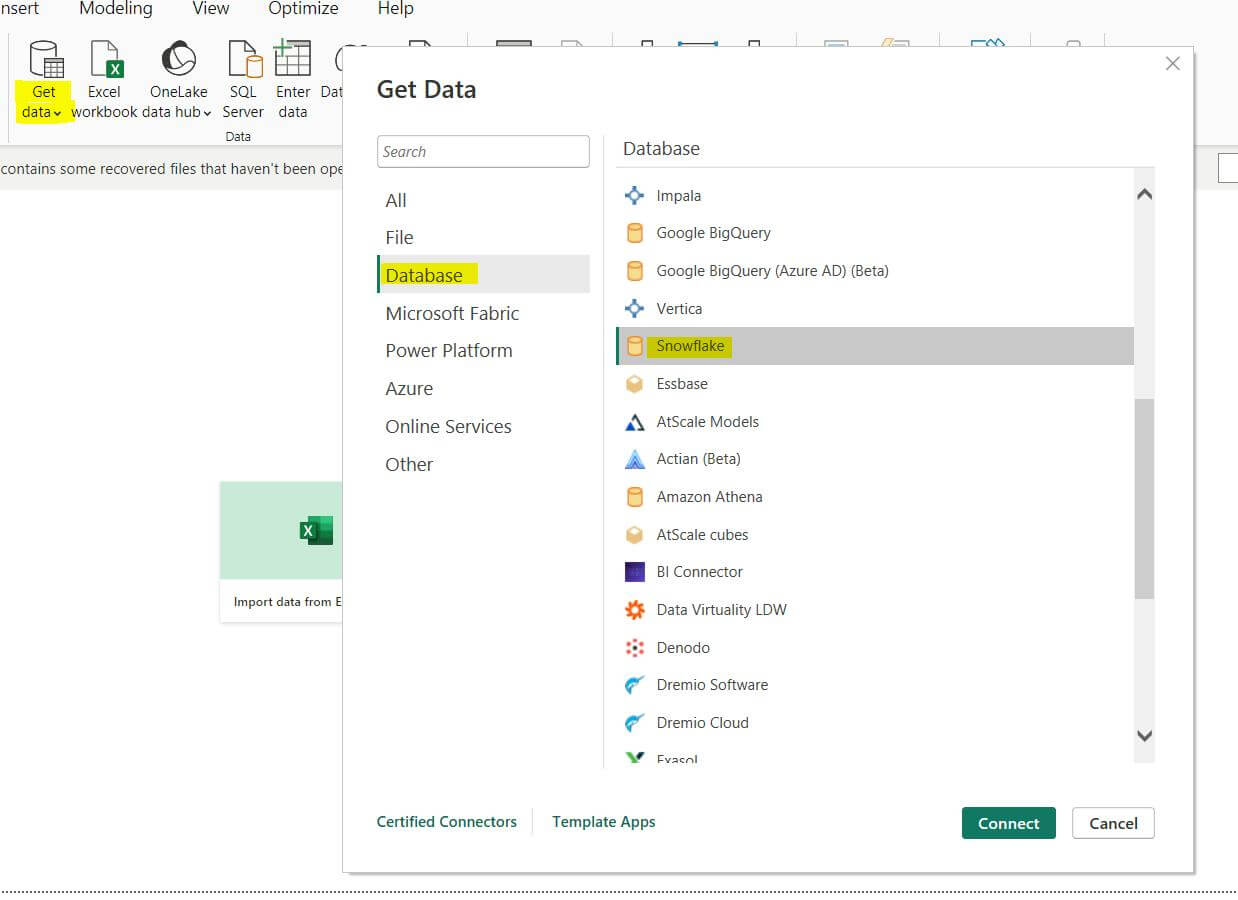
- Click on Home > Get Data > More.
- In the data source window, search for Snowflake. Select Snowflake and click Connect.
Step 2
Enter Connection Information
A dialog box will appear. Enter the following details:
- Server: The Snowflake server URL (e.g., youraccount.snowflakecomputing.com).
- Warehouse: (Optional) The Snowflake warehouse name.
- Database: (Optional) The database name.
- Schema: (Optional) The schema within the database.

Step 3
Authentication
- Choose your authentication method (e.g., username/password or OAuth).
- Enter your credentials and sign in
Step 4
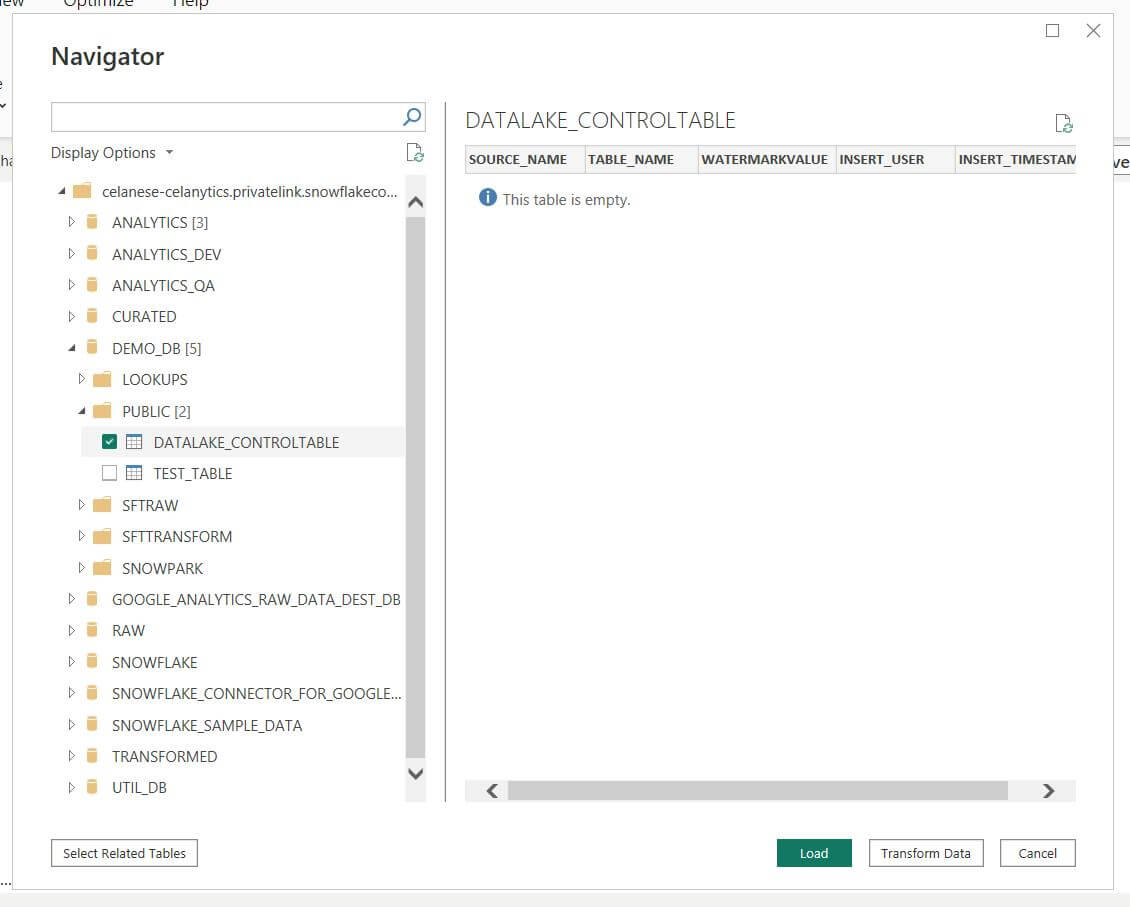
Select Tables or Views
- Once connected, a navigator window will show the available databases and tables.
- Select the tables or views you want to import and click Load or Transform Data if you want to make edits before loading.
Step 4
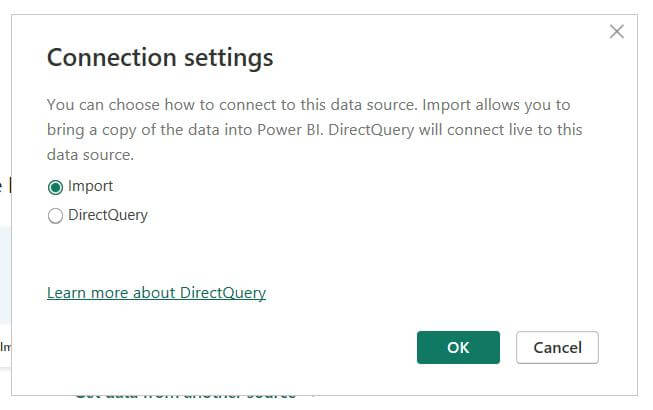
Set Query Mode (Optional)
- You can choose between Import mode (where data is imported into Power BI) or DirectQuery mode (where queries are executed live against Snowflake).
Step 5
Build Your Report
After loading the data, use Power BI’s visualization tools to build your report based on the Snowflake data. The combination of Alteryx, Snowflake and Power BI unlocks limitless analytics potential. Follow these steps to experience how publishing connections can elevate your workflows.